
Creating a container garden is more than just beautiful design. In order for your container garden to thrive and look its absolute best you need to make sure the plants are happy and healthy. Here we’ll go over some of the most common mistakes and problems in container gardening and how to avoid them.
Combining Plants With Incompatible Needs
Think of your container plants like roommates: without compatible traits, they won’t enjoy living together in a small space. While plants are luckily far less complex than humans, it still requires some careful planning when choosing plants to go together in a container garden. It’s crucial to choose plants with similar needs when it comes to sunlight and water. We should not combine plants that need partial shade with those that need full sun, for example. Drought-resistant plants don’t pair well with moisture-craving tropicals.
To avoid this issue, try using a garden planner or “companion” plant guide. You can also base your decision off of a single plant and build a design around it. If your ideal focus flowers require full sun, then you’ll know to look for other plants who need the same. Research before you buy your plants to make sure everything will thrive in the same container conditions.
Watering Too Much
The number one reason house plants die is because of over-watering and container plants often have the same problem. Planting in a container compared with planting in the ground limits the plants’ access to natural water supply. This means the soil in a container will dry out more quickly. The container itself might also contribute to the moisture issues: terra cotta, for example, can absorb excess moisture and cause the soil to dry faster.
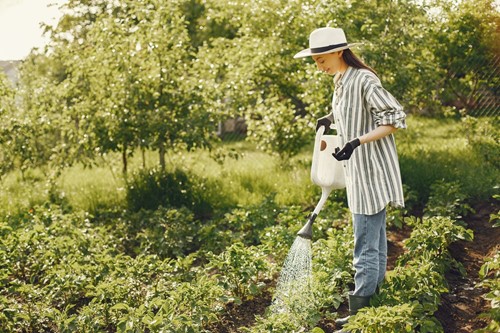
To avoid over-watering, try making a schedule. Rather than planning to water every single time, just make a note to check the soil. If it feels dry, it’s time to water. If it feels damp, it might be better to wait. This will depend on the specific plants you choose, as well. Some plants are happy with more frequent watering than others, especially in the warmer summer months.
Forgetting to Fertilize
Regular fertilizing is crucial to the success and health of your container garden. Adding fertilizer will help your blooming plants produce more flowers and look their absolute best all season. Fertilizer can also benefit non-flowering plants by boosting new growth and helping to maintain color. Look for a liquid fertilizer with the important macronutrients plants need. A simple way to add fertilizer into your plant care routine is to dilute it with water and add it as part of your watering schedule. Keeping your container garden fed will keep it looking vibrant and healthy as long as possible.
These are some of the most common issues gardeners have with container gardens. However, all have simple solutions. The key to happy plants is knowing what they need—therefore, the more you can learn about your plants, the more healthy and vibrant they will be.