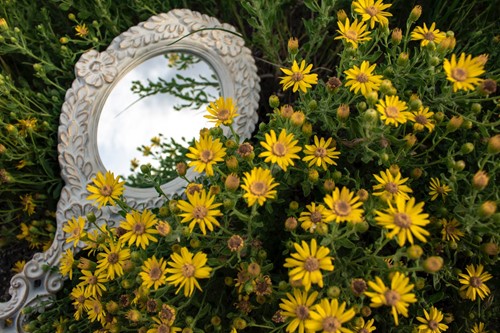
Your Guide to Garden Mirrors

Garden mirrors might seem like a new trend, but they’ve been popular among outdoor designers and gardeners for decades. With the wide variety of mirrors and mirrored surfaces available to add to your garden decor, you can incorporate this fun idea into your outdoor space. Here are the basics about garden mirrors and some ideas to inspire you.

Choosing Your Mirrors

Luckily, almost any mirror can function perfectly well in an outdoor space. Mirrors can stand up to hot summers and cold winters without breaking and won’t take any damage unless the backing gets wet. Moisture on the back side of the mirror might cause warping in especially rainy climates. Framed mirrors with exterior wood will benefit from a coat of protective seal. You can use clear polyurethane or a similar substance to protect these parts of the mirror from moisture damage.

Be Mindful of Wildlife

A major concern for using garden mirrors is how it affects local wildlife. Avoid placing mirrors in the direct flight paths of birds. Instead, use them along the sides of common pathways and cover them partially with plants to create the illusion of more space without adding potential collision hazards.

Design Ideas

  • Use a shower door mirror along a back fence to reflect the view back into the yard. This can make the illusion of double the space without all the garden maintenance. Plus, shower door mirrors are already water-protected and easy to find at hardware stores.

  • Try hanging multiple smaller mirrors along a fence or wall just like you would hang art. Mix up the sizes, shapes and frame styles to create a fun, eclectic look that bounces the light around and makes the space feel larger.

  • Use a convex mirror to reflect around corners or simply create some visual interest with a slightly warped image. Just like in retail stores and parking lots, a convex mirror can show you a much larger amount of space than a flat mirror can. While this makes for an excellent decorative piece, it’s also useful for safety when working in cramped gardening spaces.

  • Add a faux door mirror at the end of a pathway to create a sense of mystery as well as visually extending the yard space. You can either repurpose an actual door or attach a mirror to a larger frame. Surrounding the “door” with lush plant life will enhance the whimsical feel this adds to the garden.

  • To double your hanging vines or flower volume, place a mirror right behind a trellis. While partially obscured, the mirror will reflect the plants on the trellis while scattering the light around the space.

If you’re thinking about trying out a mirror in your garden, these tips are a great place to begin. With garden mirrors, you can add a bit of shine and make any outdoor space seem larger than it is.

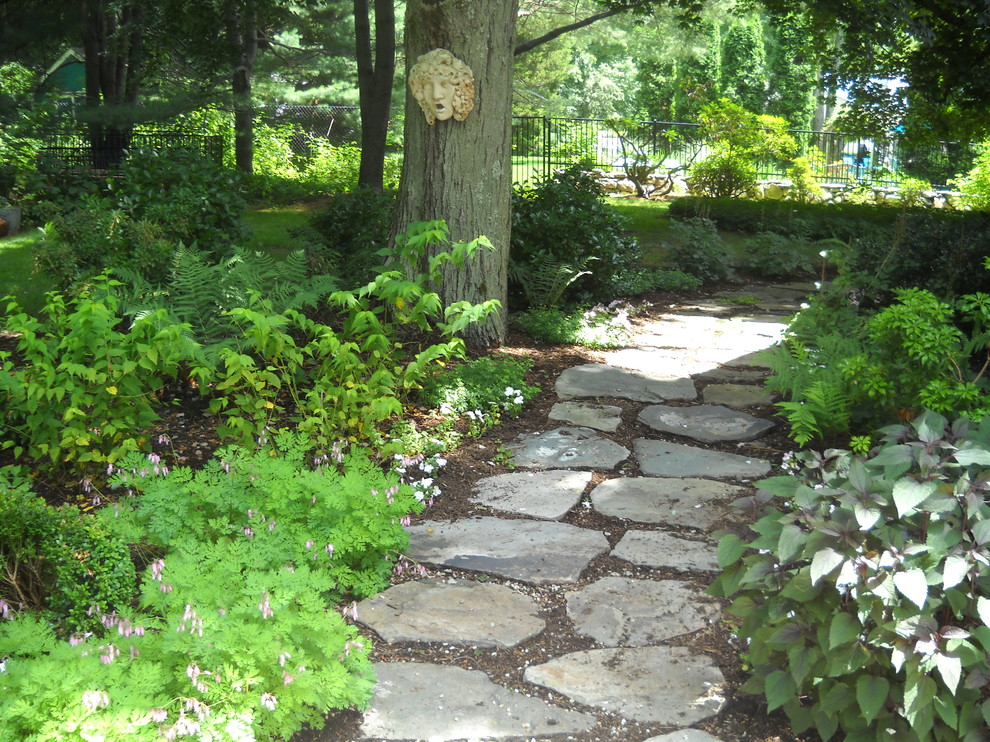
Create a Rustic Walkway with Native Stones

Image by Nancy Buron from Pixabay

If you’re like many homeowners who prefer a natural landscape plan, your outdoor living space undoubtedly features lush vegetation and bright, blooming flowers. However, you might also have the sense that something is missing but can’t quite put your finger on what it might be. If this describes you, the missing element is probably hardscaping. Hardscaping refers to elements of landscaping that aren’t plants, such as water features, statuary, gazebos and garden paths.

At its best, hardscaping brings functionality to the table as well as enhances aesthetics. Few things do this better than a rustic stone walkway meandering over the property. Here’s how to make it happen yourself over the course of an average weekend.

Select Your Stones

Stones used for walkways should be flat, wide and thick enough to withstand foot traffic. Choosing stone that is found naturally in your area cuts down on retail and delivery costs. Avoid using polished stones because these present potential slip-and-fall issues due to their slick surfaces. Stones that are between two and three inches thick offer better stability than their thinner counterparts and often come with a more attractive price tag as well.

Lay Out Your Walkway

The first step is to determine your walkway. Avoid straight lines — stone walkaways are meant to meander. Garden hoses are ideal for marking garden paths that curve. Use a sod cutter and a flat spade to cut and remove the grass, and dig out the soil where you want to place the stones to about a depth of five inches and make sure it’s firmly tamped down before placing landscape fabric and adding a two-inch layer of sand over it.

After smoothing down the sand so it provides a flat surface, it’s time to lay down the stones. This part is a little like putting together a jigsaw puzzle, so take your time to figure out the placement. Be sure to use a carpenter’s level to make certain that the stones are at the same height, and add or remove sand as needed. However, if you live in an area that receives significant amounts of precipitation, slightly sloping the larger stones toward the outside of your walkaway helps prevent standing water issues.

Landscape the Walkway

Some people prefer the clean, austere aesthetic of pebble or oyster shell mulch in the gaps between the stones, while others like the rustic, tousled look provided by low-growing herbaceous plants. Corsican mint is an excellent choice because it has a bright green color all year round and releases a divine, minty aroma. Other choices include creeping thyme, rock cress, artemisia and sedum. You can also mix it up with a variety of ground covers for a classic, cottage garden look.